This is the second post in series of articles about how to stop wasting money in your bodyshop, and increase the overall profitability. In the first article we discussed how to save money by avoiding paint overmixing and using a spray gun efficiently. Today I will speak about abrasives and more precisely how to optimize sanding paper usage and to avoid overconsumption.
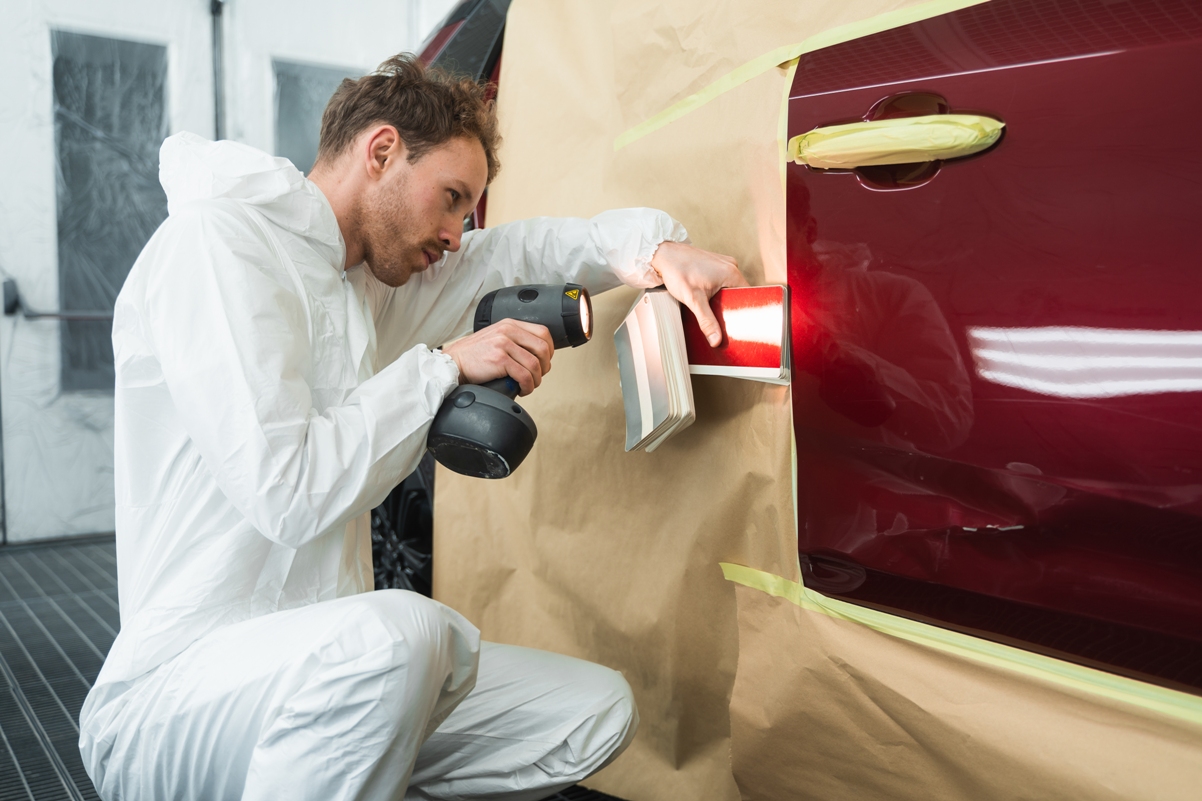
Abrasives in a bodyshop
Abrasive materials are used to clean, level down and refine surfaces to be painted on virtually all stages of the auto body repair job. Various shapes, grits and abrasive types are used everyday in every collision repair shop. Despite this great variety, a few useful no-nonsenserules could be applied in order to optimize the abrasives costs and make sure that sanding materials are used to the full potential.

How to prevent abrasives wastage within bodyshop?
- Clean thoroughly the surface prior sanding. One of the most common mistakes I have seen is that a prep guy doesn’t wipe the surface with cleaner or degreaser. Usually people tend to think it is not necessary to clean up if the surface is going to be sanded anyway. However, proper cleaning will remove stubborn grease and dirt, which would clog easily an abrasive, wasting a lot of abrasives without reason.
- Using appropriate sanding machine with depending on grit size used. This is another common problem causing excessive sanding discs clogging. A rule of thumb tells us that for a paint stripping and putty/filler sanding we should use random orbital sander with orbit of 5 or 6mm, while for primer and clear coat sanding, smaller orbit of 2.5 or 3 mm better be used. You will be surprised by results.

- Blowing sanding materials with air. This simple step will help to reduce abrasives consumption. Keep a blowing gun within your reach.
- Make sure that materials are fully cured before starting sanding. This is very common mistake as well. In attempt to speed up the repair process some of painters do not follow the manufacturers’ technical data sheets, reducing drying times. Filler or primer, which are not fully cured will definitely clog abrasives and increase wastage.
- Using correct grit sequence. Another useful rule of thumb to remember, the rule of “100”. It states that the next abrasive step should be no more than 100 grit units from the previous step. For example, if you sand filler with P80 disc, the next step for feathering down must be P180, not finer. Otherwise, the scratches from P80 will not be properly smoothed and primer sinkage may occur. On the other hand, using too coarse abrasives may cause clogging problems as well. For example, lightweight fillers are recommended to be sanded by finer grits like P150 or P180, not coarser. Always pay attention to manufacturer’s technical recommendations.
- Prefer dry guide coats over black aerosols. Applying black guide coat to the filler or primer will help to spot minor imperfections like pinholes, which are not visible otherwise. Often, instead of dry guide coat, aerosol black paint is used. Unlike dry powder, paint will clog the disc, reducing life time of abrasive.

- Use dust extraction whenever possible. Most of the above mentioned tips are pretty useless if we don’t connect sanding machine to the dust extraction unit.

To be continued…